

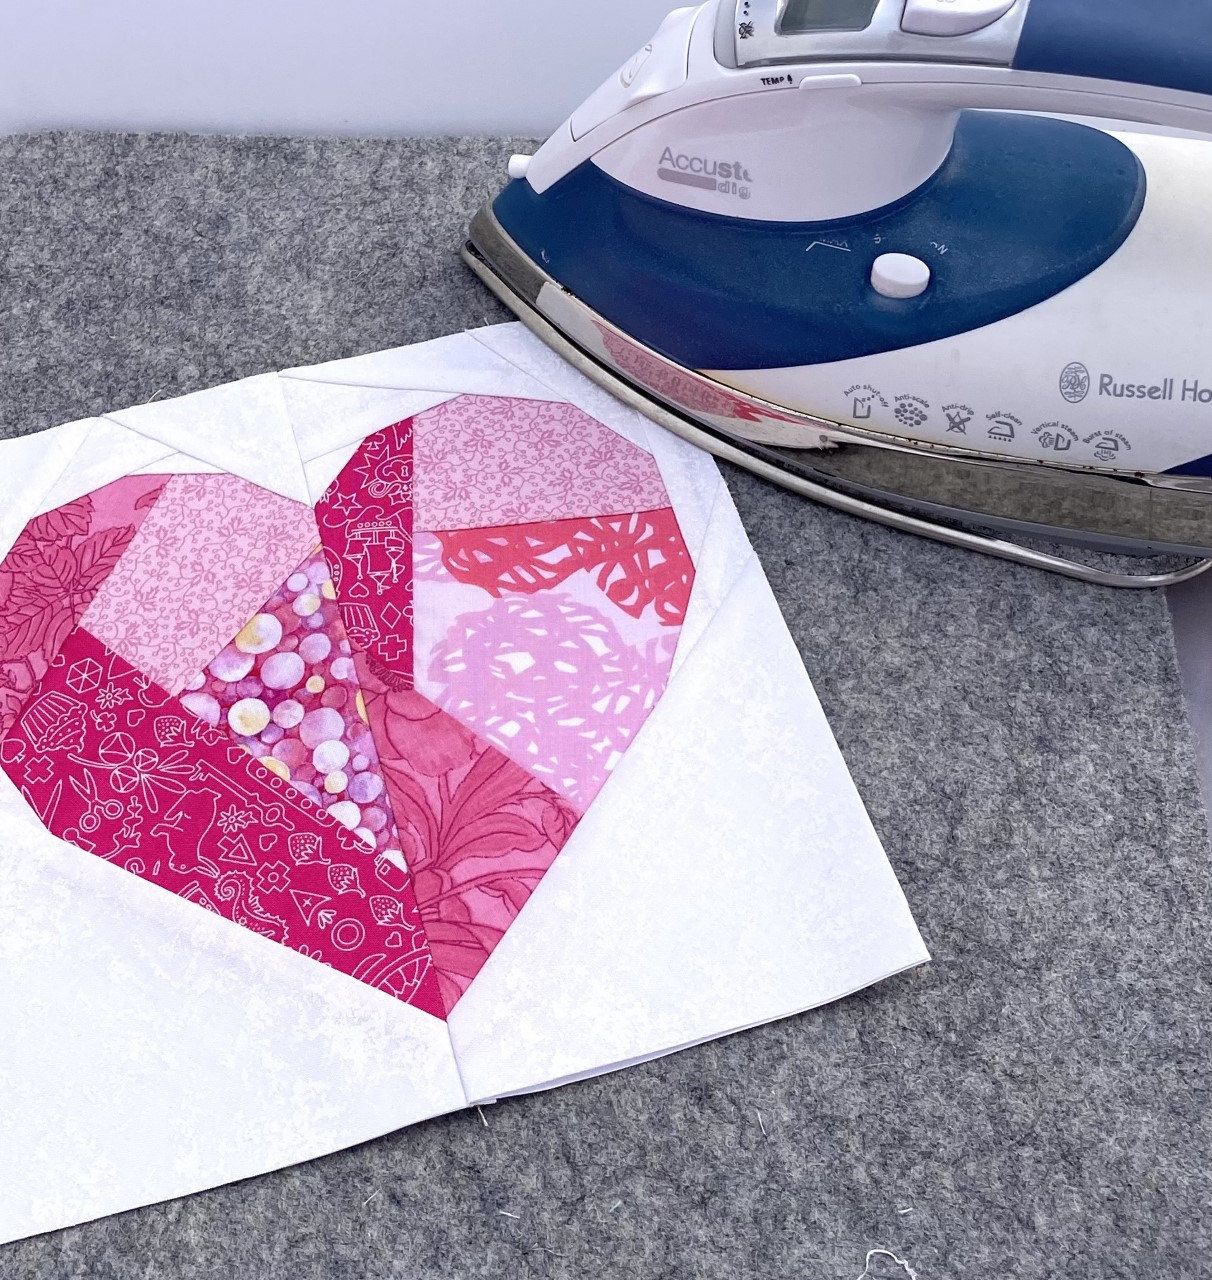
When it comes to quilting, how you press your fabrics can make a massive difference in the finish. Often I'm guilty of calling it "ironing" both in conversation and within my patterns, however, have you noticed that most Quilters call using an iron "pressing" and not "ironing"? There’s a very good reason for this. Read on to find out the five best tips for pressing your quilt blocks for perfect results!
1. Press - Don't Iron!
When you are quilting you should be using the weight and heat of the iron to do the bulk of the work and not moving the iron back and forth. This is why we should call it “pressing” as opposed to “ironing”.
Moving the iron back and forth over your fabric can distort the fabric and lead to errors in your finished quilt block. Save the back and forth action for those annoying shirt sleeves!
2. Make sure you set your stitches.
Setting your stitches helps to secure them through a process called melding. In order to set your stitches keep the seams together to start with and press, then after you have done this, you can either open your seam and press them open or press them to the side (depending on the pattern directions or personal preference).
3. To steam or not to steam...
This is a tough one. Personally, I don't use steam, mainly because I'm an avid paper piecing enthusiast, and using steam when paper piecing can end in disasters such as ink running from paper through to the fabric, or paper deterioration and distorted lines. However when traditional piecing or after the paper is out I find steam can be very useful to knock out those stubborn fabric creases. Bottom line, when deciding whether to use steam to aid pressing your quilt blocks, really think about the technique you are using to construct the quilt first, and if it will really help. Maybe there are other ways to flatten that seam instead, such as using a Tailor's Clapper.
4. Use a firm flat surface.
No matter the size of your quilting space, it's worth making the space to press your blocks and using a firm flat surface is key. An ironing board is the obvious choice, but in places where you simply don't have the space, (or you do, but it is away from your sewing space, such as in another room) wool pressing mats are a winner with me.
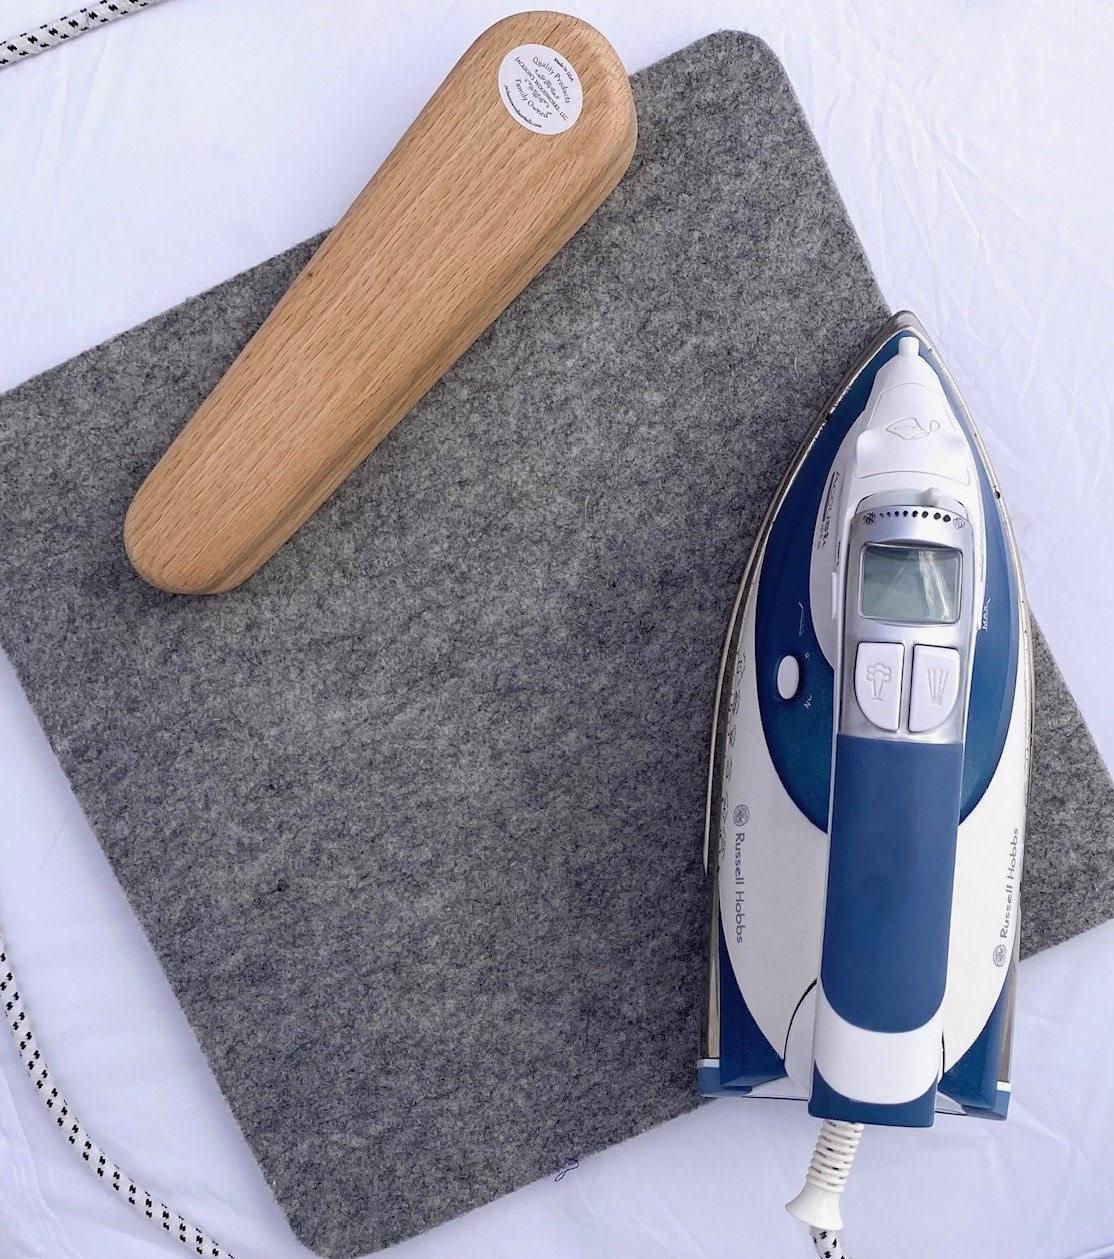
I have one that is 13' square. I use it when I'm creating foundation pieced quilt blocks. Because of the size, it sits on my desk nicely next to the sewing machine and streamlines my ability to sew, cut and press without having to jump up and down from my sewing desk.
5. Press towards the dark side.
Shadowing can make a well constructed quilt from a beautiful pattern look shabby. What is Shadowing you ask? Quite simply its where you can see the seam of a dark fabric showing through a lighter fabric on the front of the quilt.
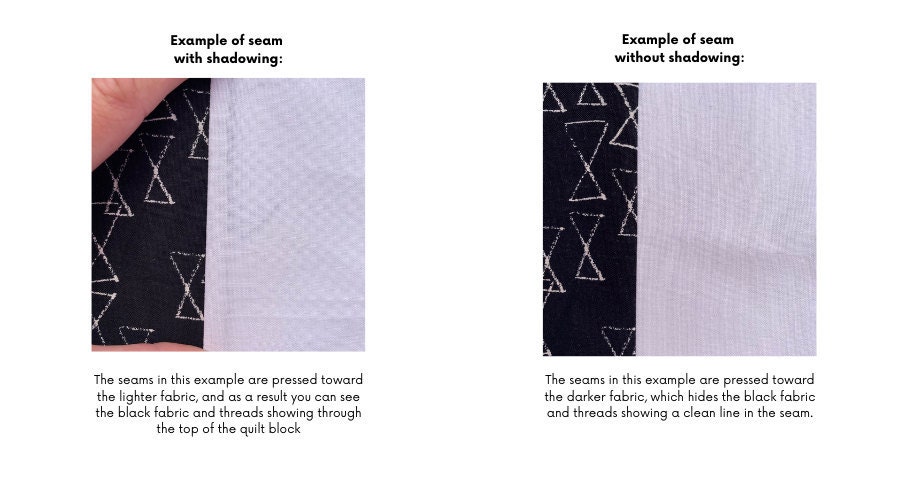
There are two things that you can do to help avoid this, the first being trim neatly with your rotary cutter and the second being always press the seams towards the darker fabric where you can. It's not always possible, in for example Foundation Paper Piecing, the direction you press within a template is fixed, however if you are working on a traditionally pieced pattern this is where you can alternate and ensure you press towards the dark fabric and stay away from the light!
Often you will find a designer has thought about this when writing a pattern. For example when writing the directions for my 'River Rapids Jelly Roll Pattern, I instruct you to press the seams open when constructing your strips. This is to reduce the possibility of shadowing.
Bonus Tip for Foundation Paper Piecing:
Press seams open where possible to avoid bulky seams!
During paper piecing some quilt blocks there are times when seams get quite bulky due to the number of layers of fabric that can meet at the seams where the templates join. The best tip for reducing this bulkiness is to press the seam open.
After you have removed the paper from the seam edge, slide your finger into the layers of fabric and open it a little with your finger and let the fabric fall where it wants to fall then slide the nose on the iron into the groove and hold it there for a few seconds before moving up the seam.
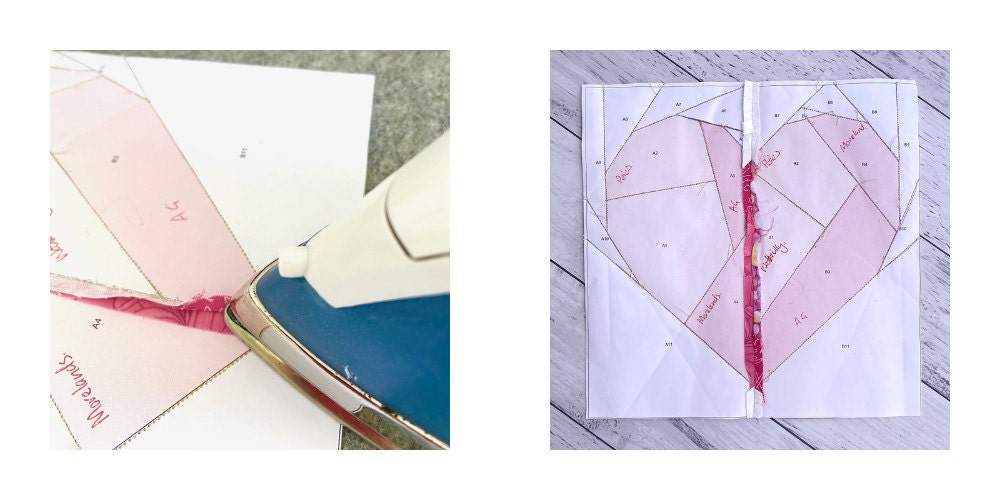
While it may seem to be odd advice at first, I have found that using this method combined with my Wool Pressing Mat and Tailors Clapper give me much flatter seams in places where bulk is potentially an issue.
So there you have it! Whether you are just starting out and learning to quilt, or a seasoned quilt extraordinaire, utilizing these tips for using your iron will get the best results for your next quilt or quilt block.
Do you have any other tips? Let me know in the comments!

Disclaimer: This post may contain affiliate links for products and services that I trust and use myself. If you purchase an item via one of these links it will not cost you any extra, however in some cases, I may earn a small commission which helps me find my quilting habits. Thanks for your understanding!
Comments ()