

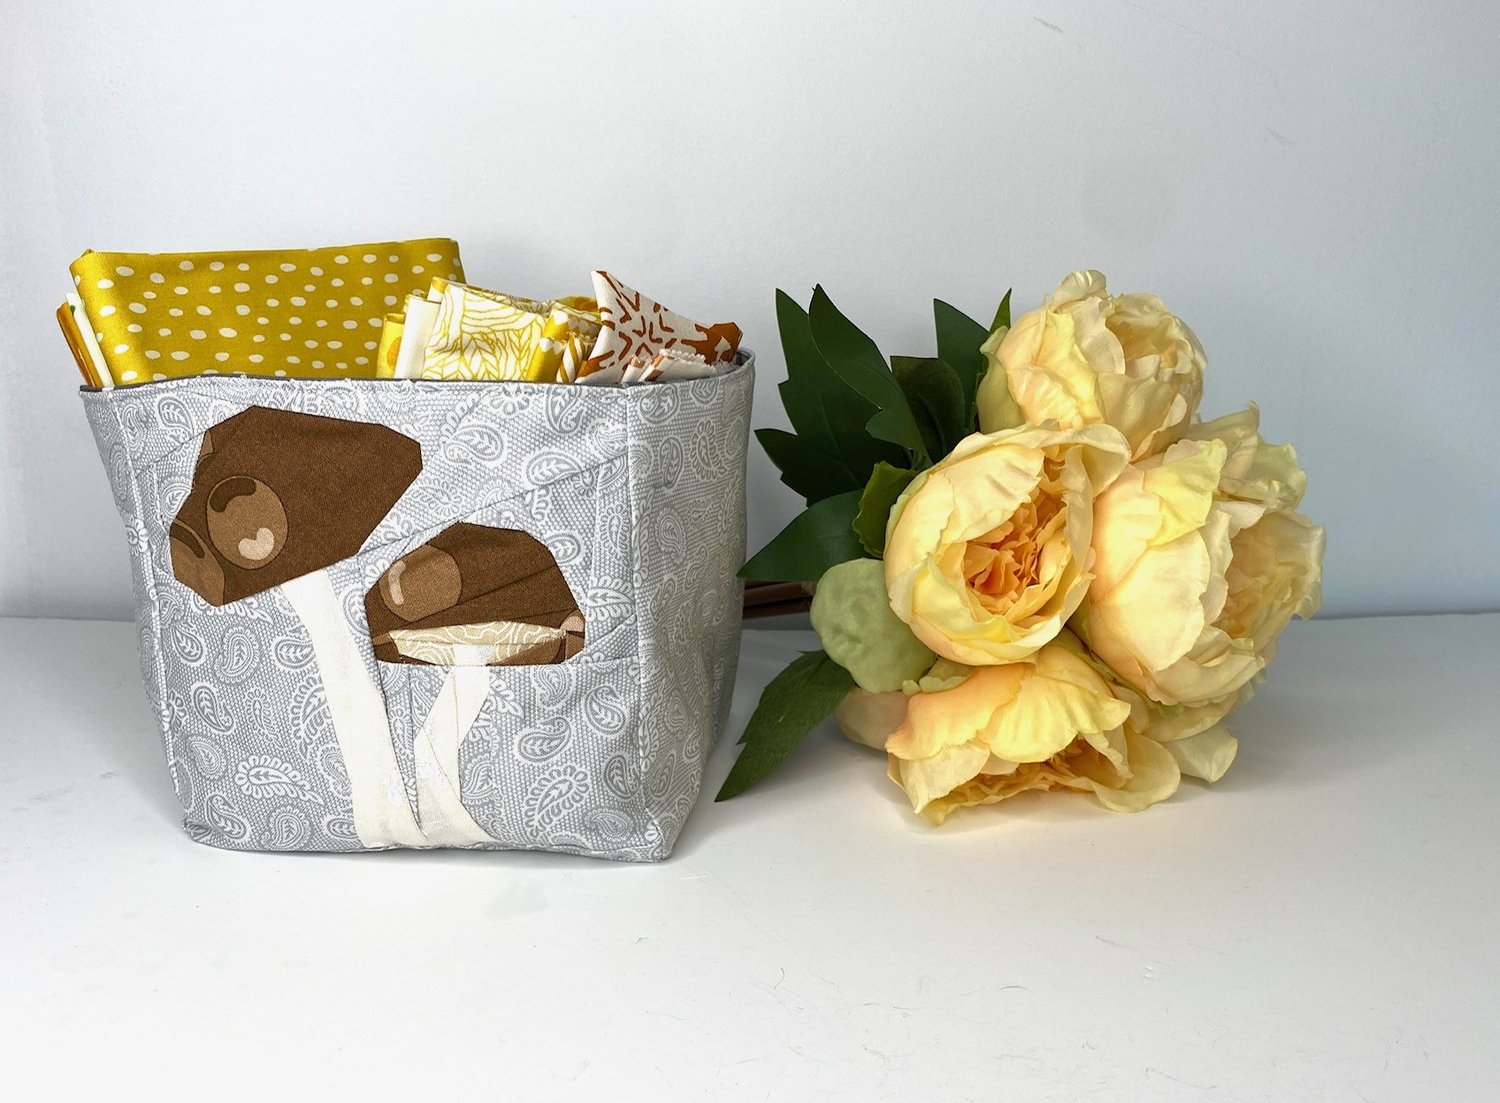
This week I decided I needed to organise my sewing space a little bit better. If I am being completely honest it has become a bit of a creative mess. One of the things I had been meaning to do was organise my fat quarters so that I could place them on a shelf. I figured one way to do this was to use some of my many orphan quilt blocks and abundant fabric scraps and turn them into an easy-to-make square fabric storage basket.
You can also easily make your box bigger or smaller by changing the size of the squares you use!
Preparation:
A quick note about this project before you start making your own one: Although it may be tempting to think that you could use a length of fabric instead of cutting it into squares if you are using yardage, I wouldn’t recommend it. The design of the storage box you are making means that the extra seams help with the stability of the box shape when it is finished.
The first step is to gather all of your supplies. To make a pretty fabric basket like this one you will need:
· One 6” Quilt Block for the outer casing (I used my mushroom quilt block: Pattern available here)
· Four 6” fabric squares for the outer casing
· Five 6” fabric squares for the inner lining (I used a number of scraps from my stash for these)
· Some light-weight fusible interfacing such as cut into Ten 7” squares
· And your usual quilting and sewing supplies (thread, sewing machine, scissors, etc)
First, put on your favourite music or binge-worthy TV show in the background, and then press and trim your fabric squares and quilt block. Then place them right-side down on your ironing station. On the reverse side of each block iron a 7” square of interfacing to the reverse side of each piece of your fabric and your quilt block. Next, trim the interfacing back in line with the edge of each of your fabric squares. The interfacing, although lightweight, will help to make your fabric (and your finished basket) a little bit sturdier and self-supporting.

Now create your lining:
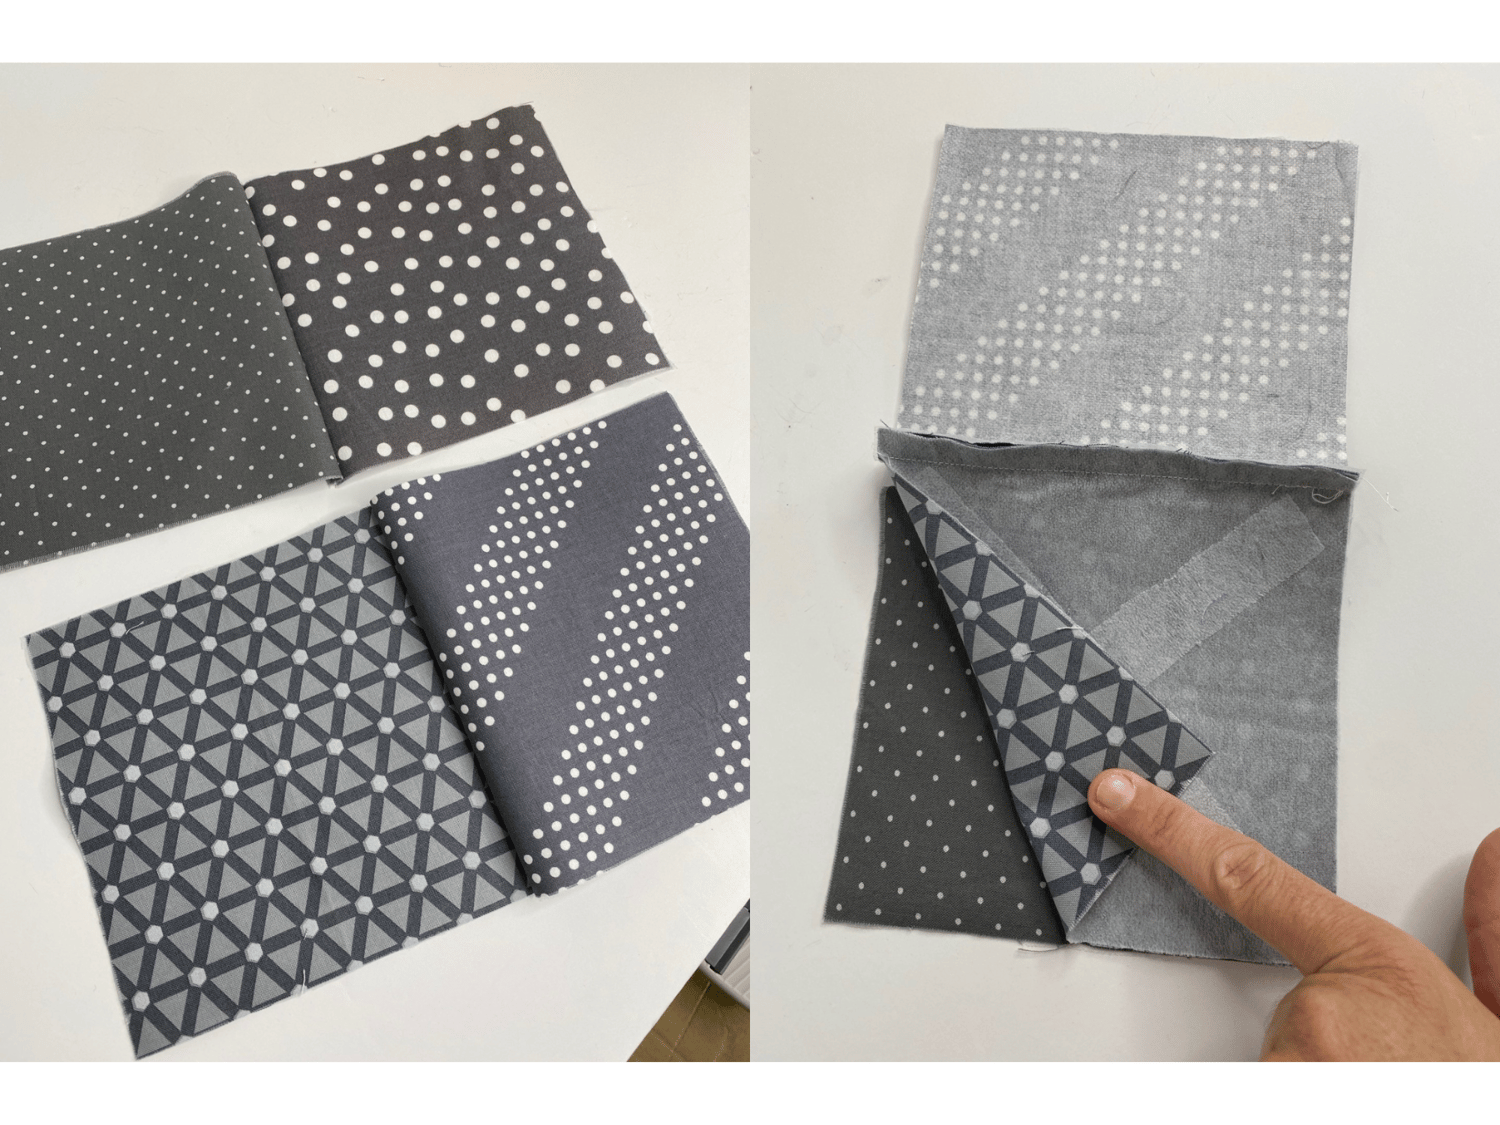
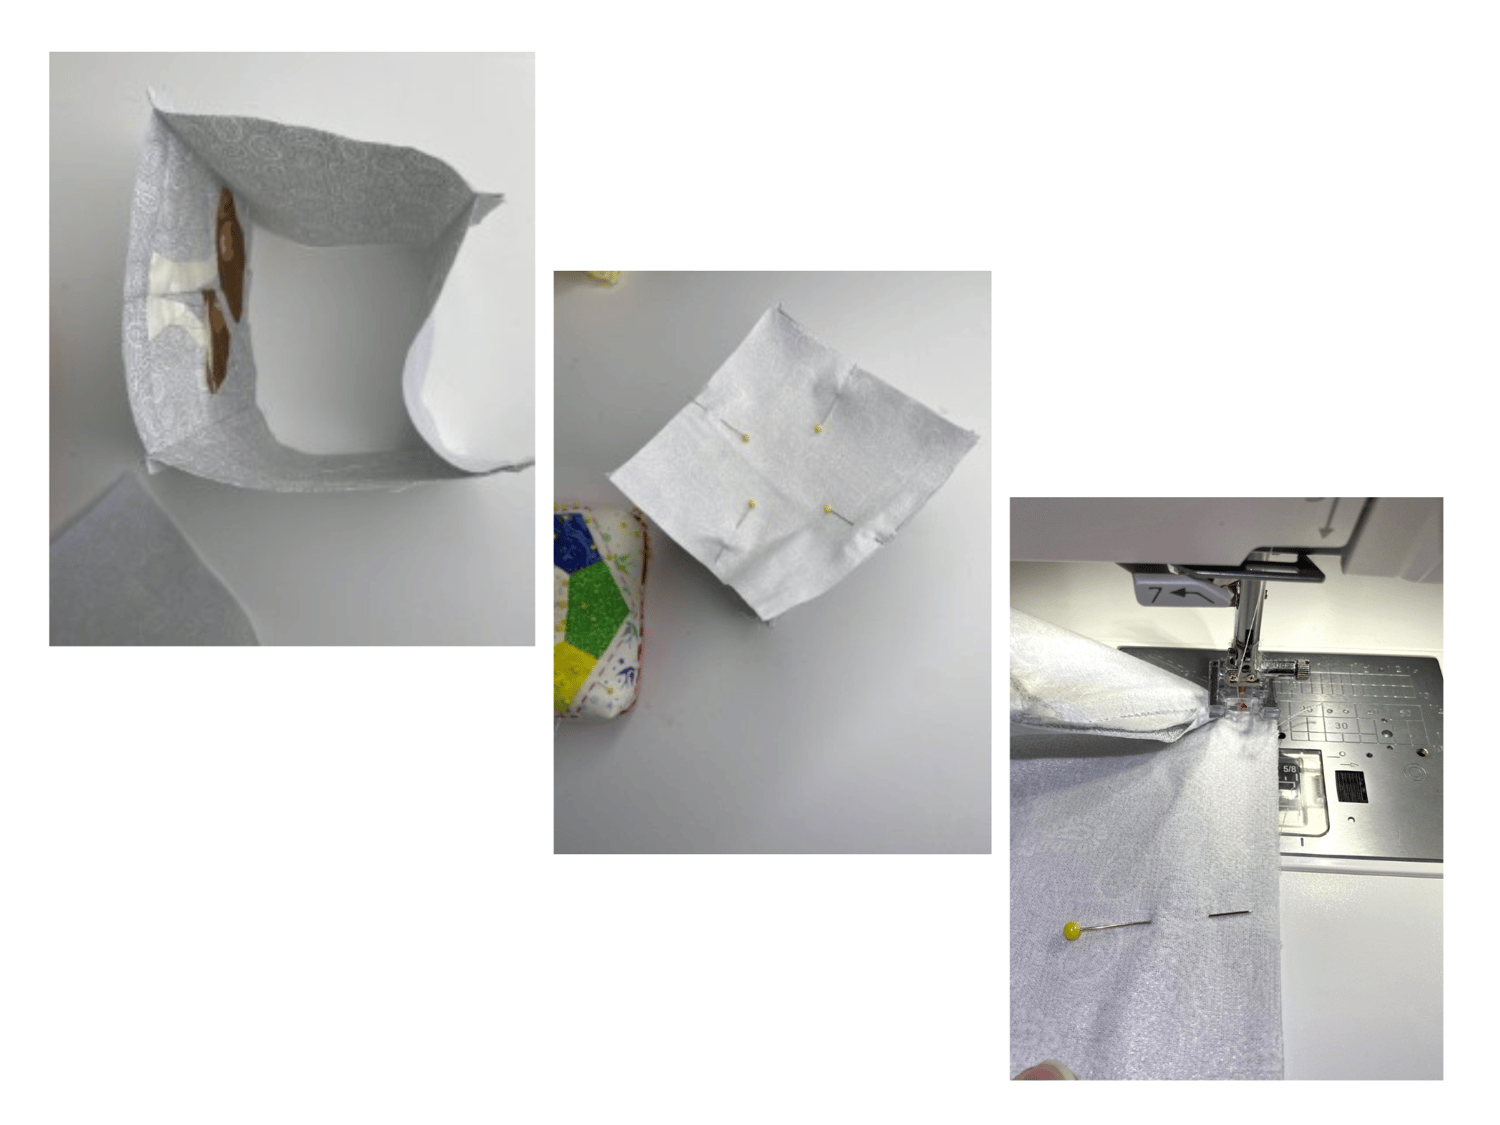
Take two of the 6” squares for your lining and sew them together along one edge using a ¼” seam. Then repeat this process with two more squares.
Place the two sets of squares on your work surface with the right sides together and pin along the short edge, then sew these edges together to create a loop of four squares.
Next, take the last lining square and pin it carefully to the bottom edge of each of the loop of fabric squares.
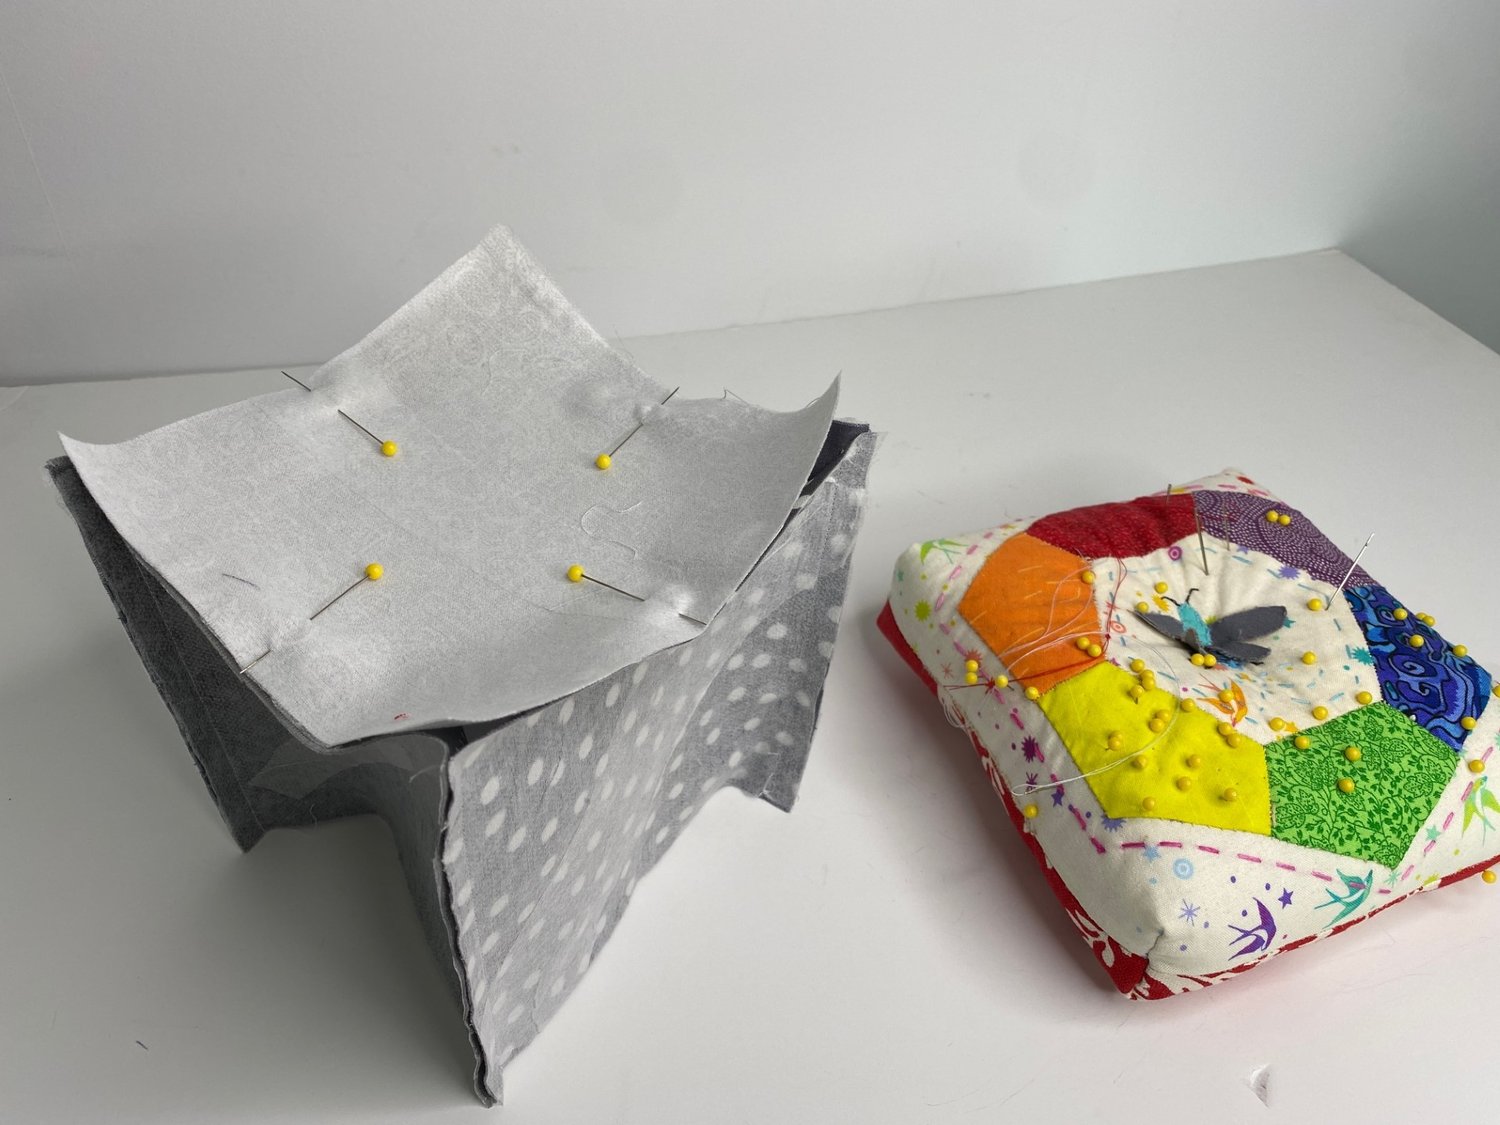
Once again using a ¼” seam allowance, carefully sew this square in place, lifting your presser foot and turning at each corner, whilst also ensuring you don’t snag any unintended fabric as you sew. You should now have an open “box” shape for your lining.
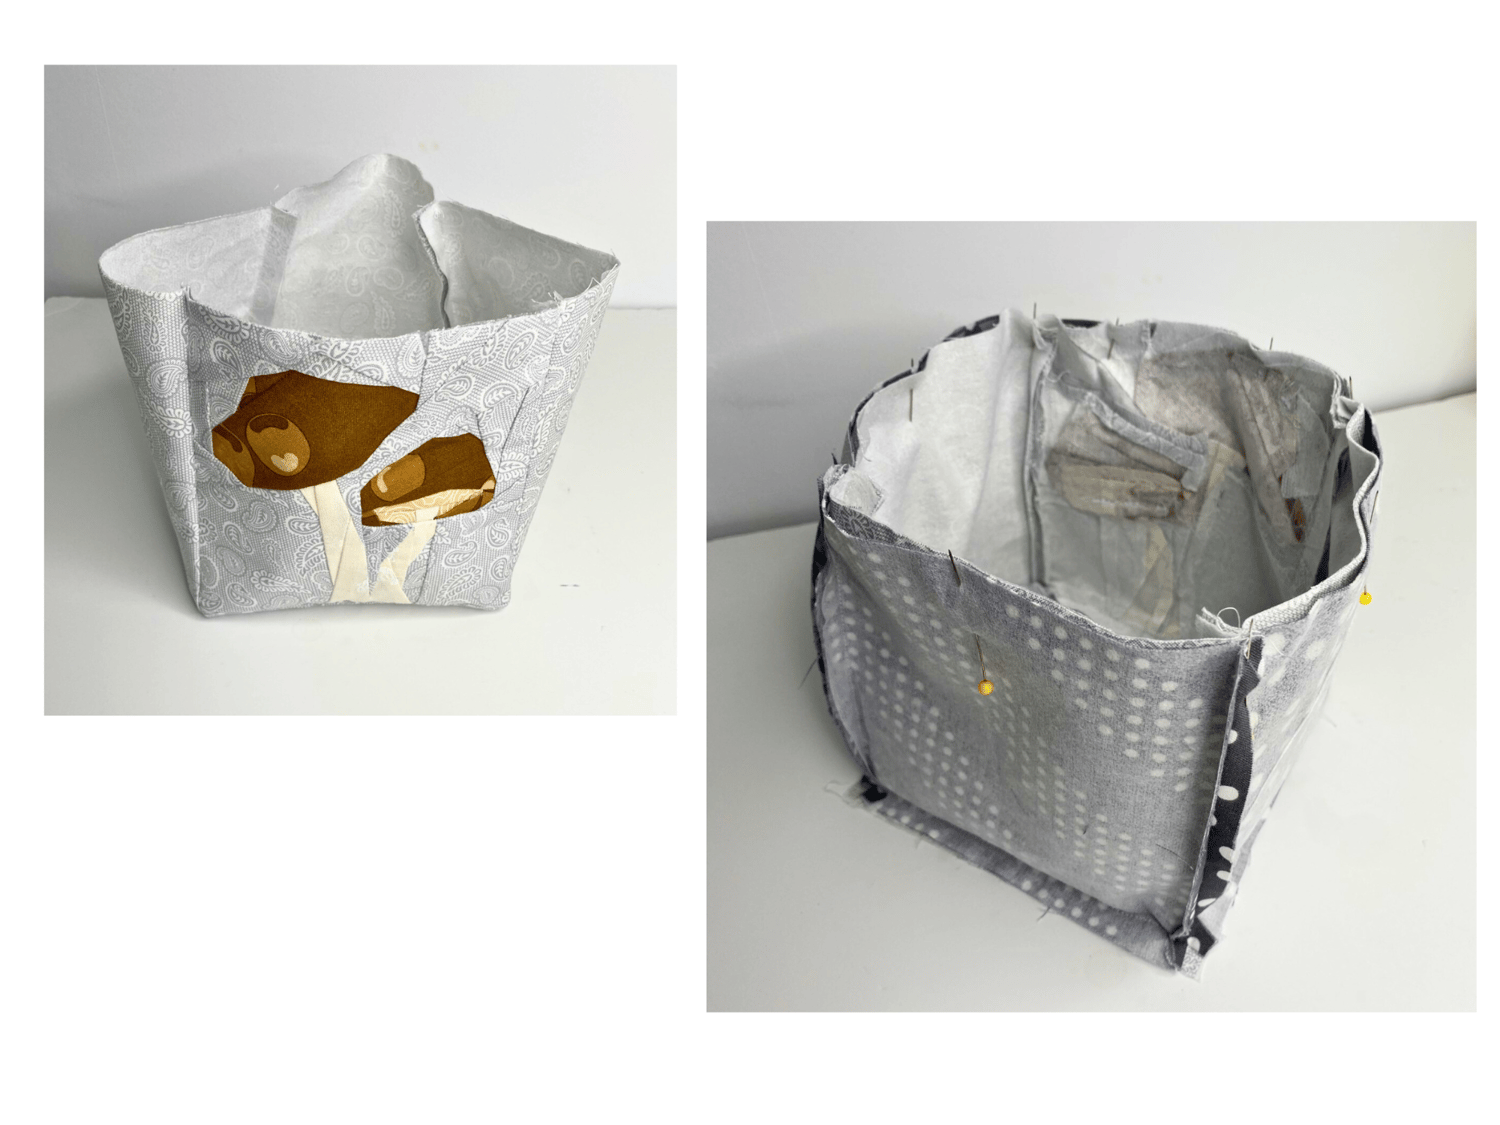
To create the outer casing:
The process is very similar to creating your lining, however, you will need to ensure that you orientate your quilt block in the correct direction when you attach it to the other squares, so I like to start with the quilt block and one of the other fabric squares and sew a seam down one side of my quilt block. Then sew another two fabric squares together.
Next, as you did with the lining fabrics, sew the four squares right-sides together on the short edges to create a loop.
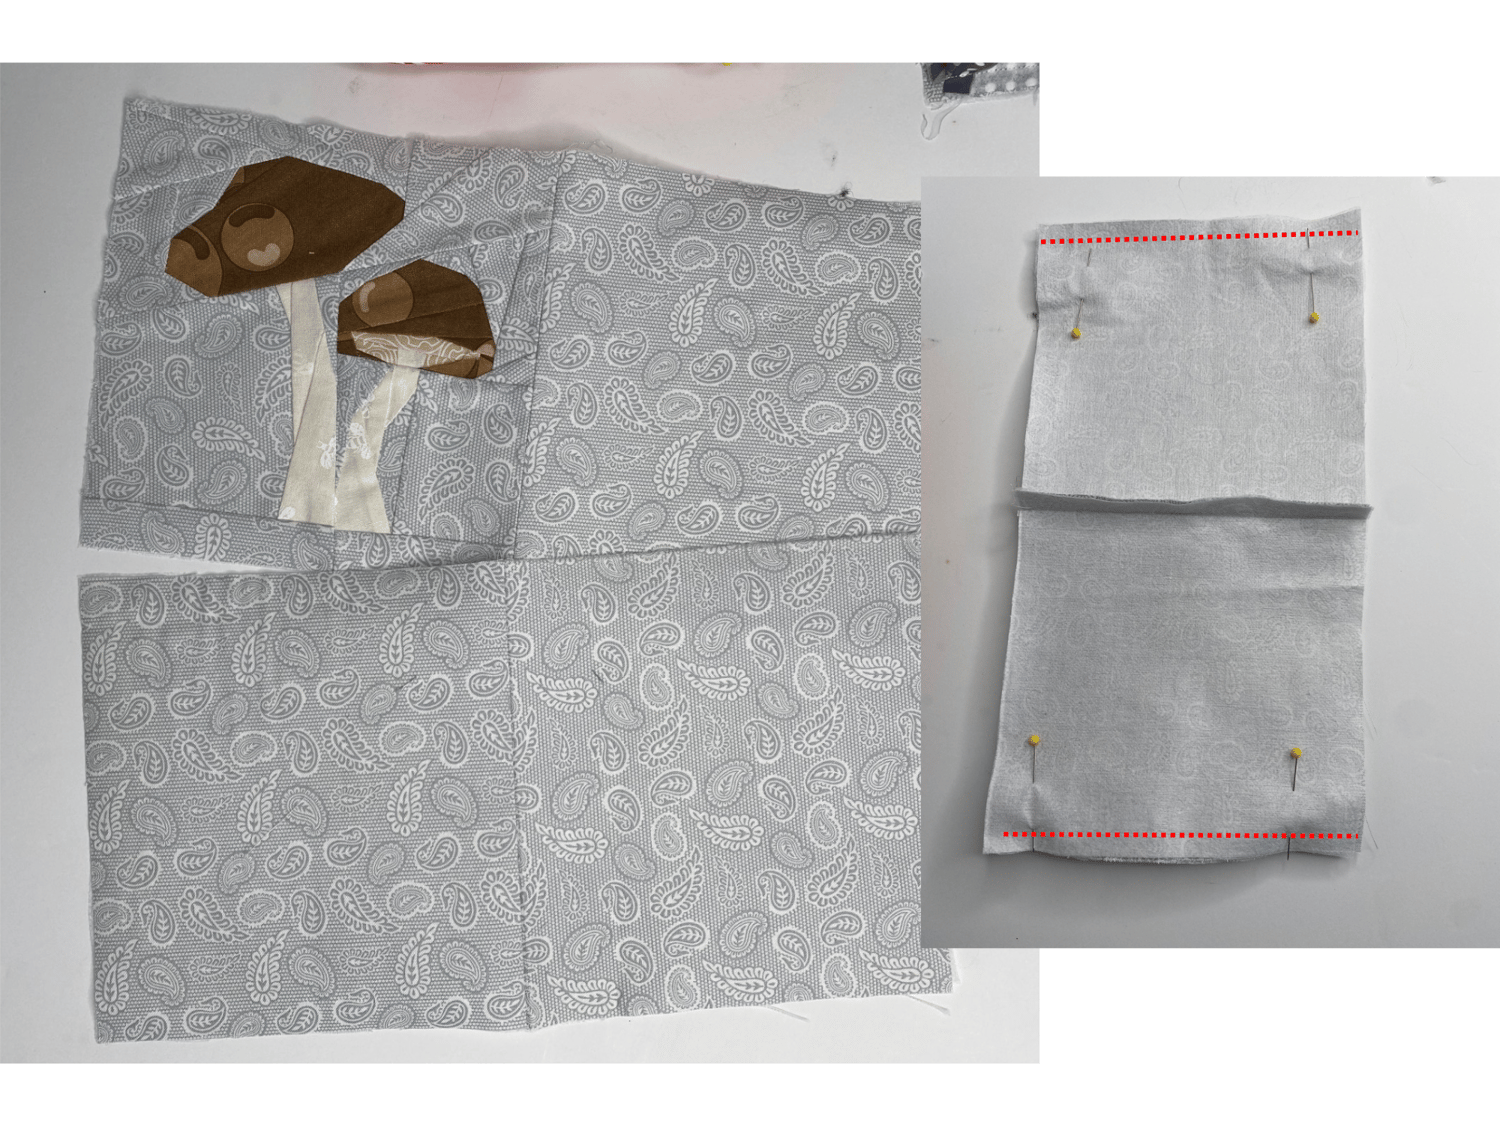
Pin and then carefully sew the last square to the other squares ensuring that when you attach it, it is on the bottom edge of your quilt block. Once this is done you should have two open boxes and you will be ready to put them together.
Finishing Steps:
Turn your lining fabric box right side out and place it inside your outer casing so that the fabrics are right side together. Pin the box in place and then stitch around the top edge leaving a 3” gap in the stitching on one side so that you can turn the box right side out.
Make sure to use your finger and push out the corners of the outer casing.
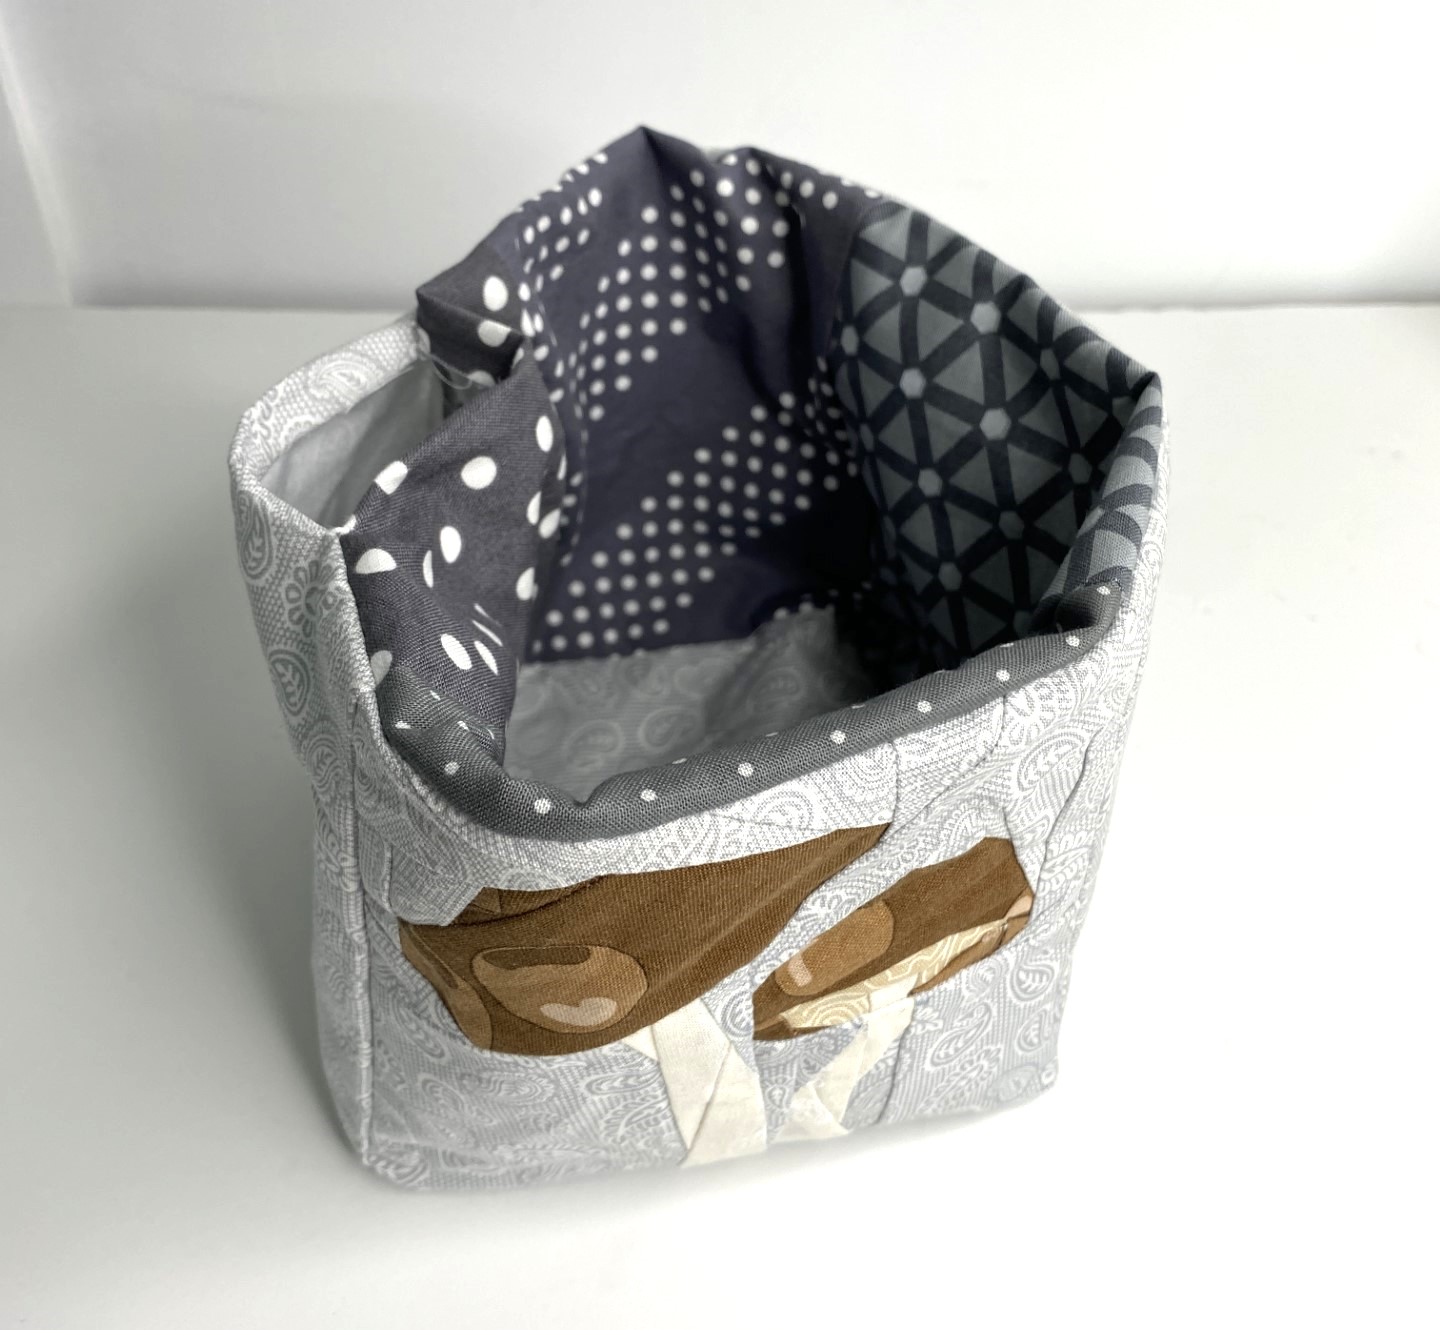
Use your iron and press around the top edge to create a crisp seam and make sure the seam allowance is tucked inside the box at the opening where you pulled it right side out. Carefully top-stitch around the entire top edge of the box to close the gap in the seam and finish your fabric storage box, then fill it with your favourite fat quarters, notions, or even stationary supplies!

Disclaimer: This post may contain affiliate links for products and services that I trust and use myself. If you purchase an item via one of these links it will not cost you any extra, however in some cases, I may earn a small commission which helps me fund my quilting habits. Thanks for your understanding!
Comments ()